Installation
These instructions follow virtual machine approach, i.e. at the end of the installation you will have the following configuration to work with Oracle
Host OS (Windows/Linux/Mac) -> VirtualBox -> Windows (guest OS) -> Oracle 21c + SQL developer
Install Virtual Box
Download and install VirtualBox for your OS from https://www.virtualbox.org/wiki/Downloads.
Install Windows (Guest OS) in VirtualBox
- Download Windows 10 installer/iso from https://www.microsoft.com/en-us/software-download/windows10.
If you are using Windows as host OS, you might be prompted to download installer file, which you can use to prepare an .iso:which image.
If you are using Linux as host OS, you might be asked to download .iso.
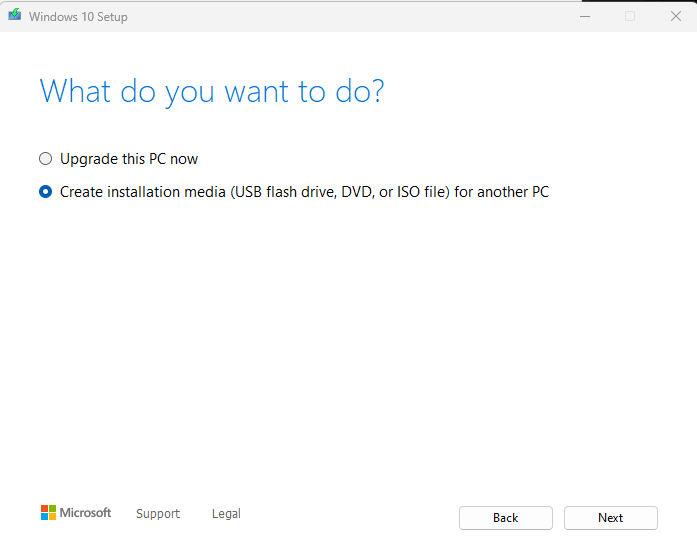
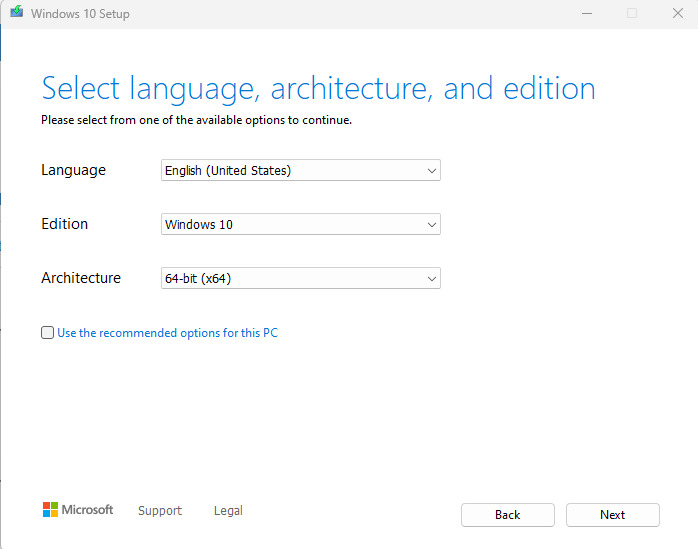
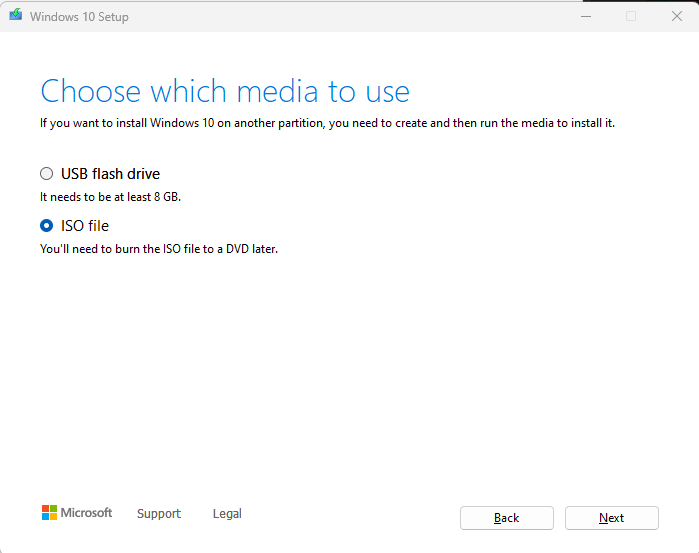
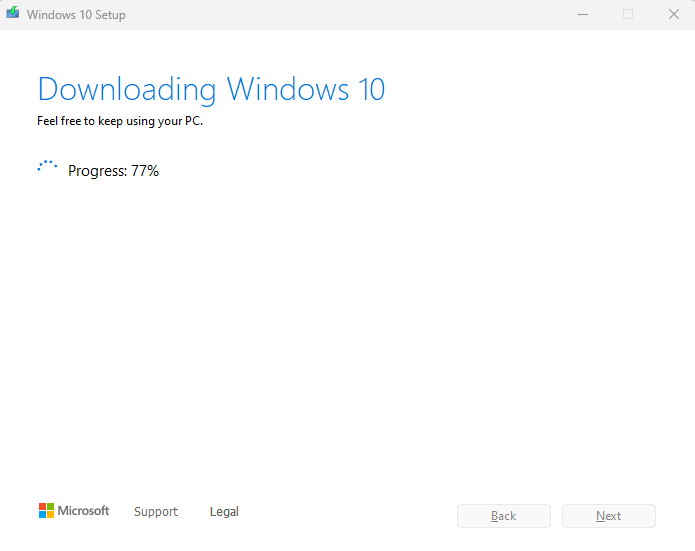
Prepare .iso for Windows as host OS
Download Windows 10 installer from https://www.microsoft.com/en-us/software-download/windows10.
- Installer might look as follows in your downloads folder
- Execute the above installer file to create .iso image which we will use to install Windows in VirtualBox later. Here are the snapshots that will help you go through the .iso generation process.


Create VirtualBox Image
Open the installed VirtualBox and create Windows image as follows:
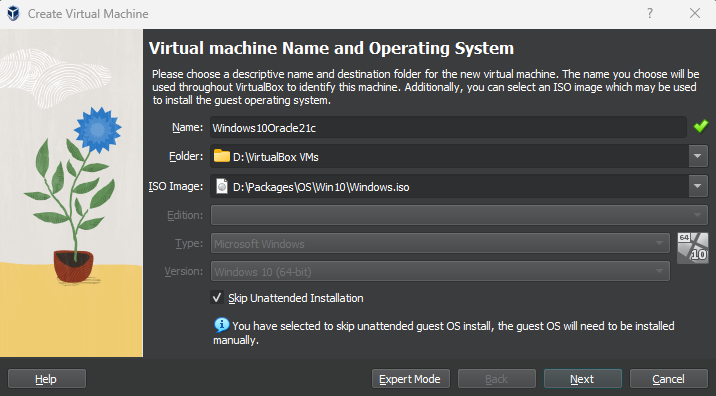
- Launch an installer window using New
- Fill in the details, as well as point to correct location for Windows.iso file
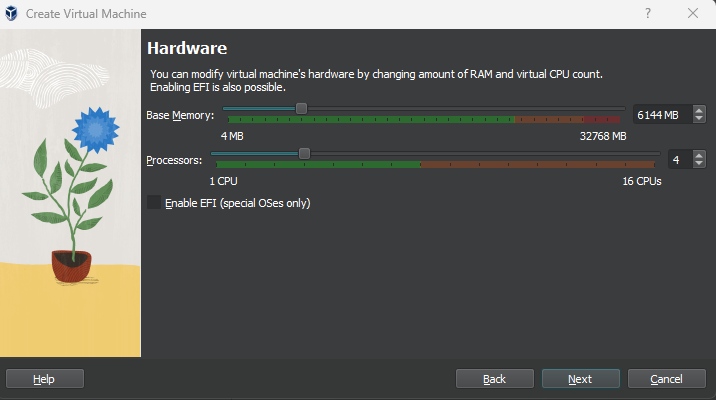
- Allocate 6GB of RAM (based on my tests, 4GB resulted in longer installation time for Oracle)
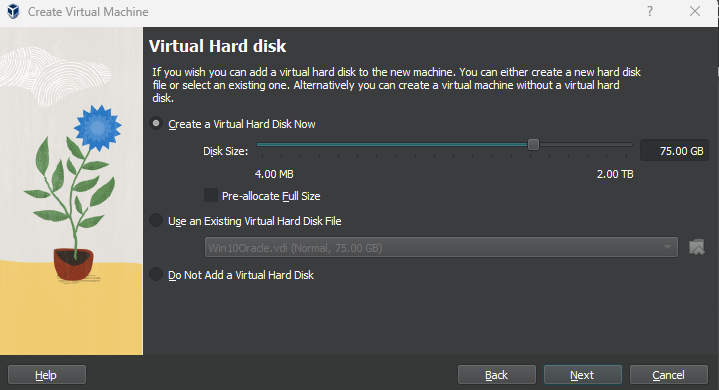
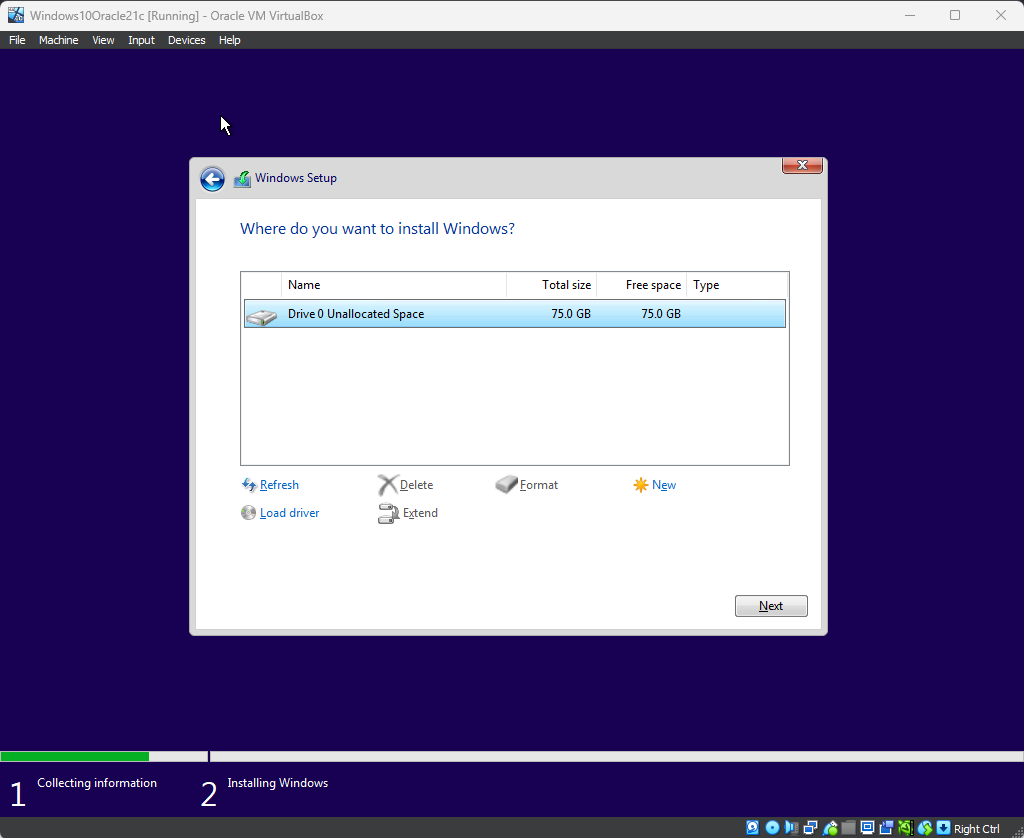
- Allocate disk space, I used 75GB
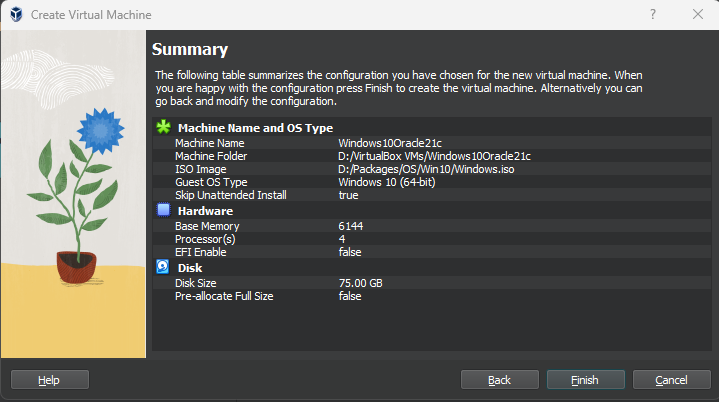
- Finally, a look at the summary page

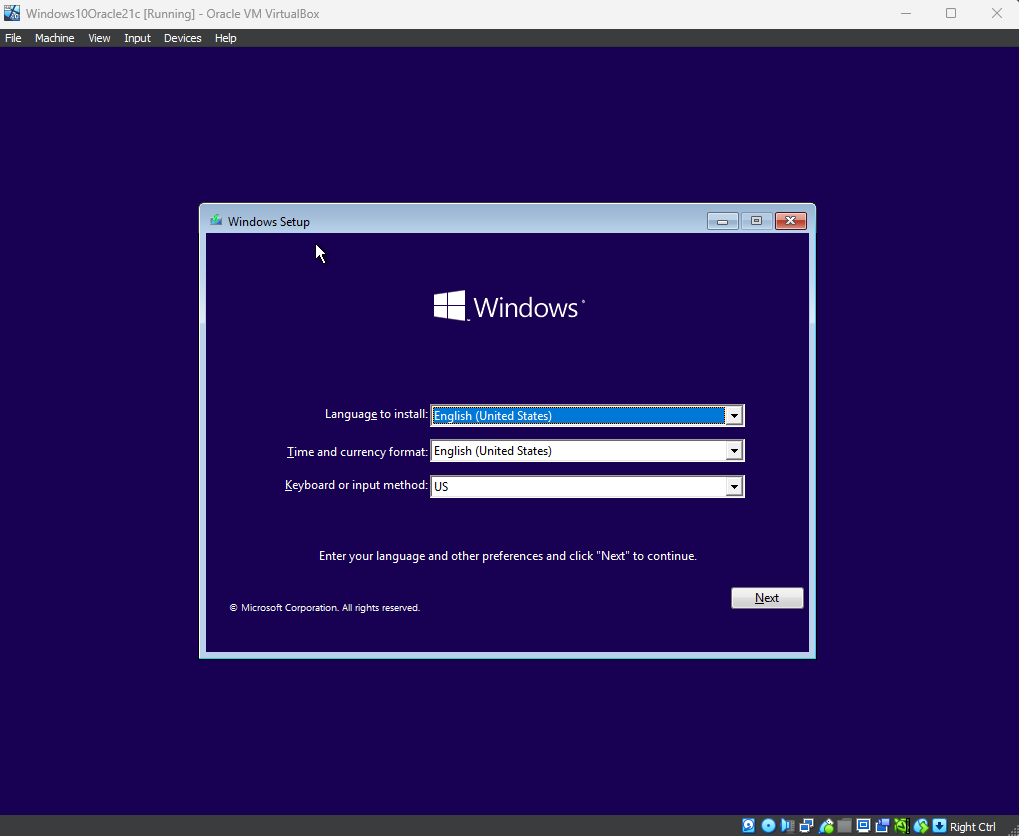
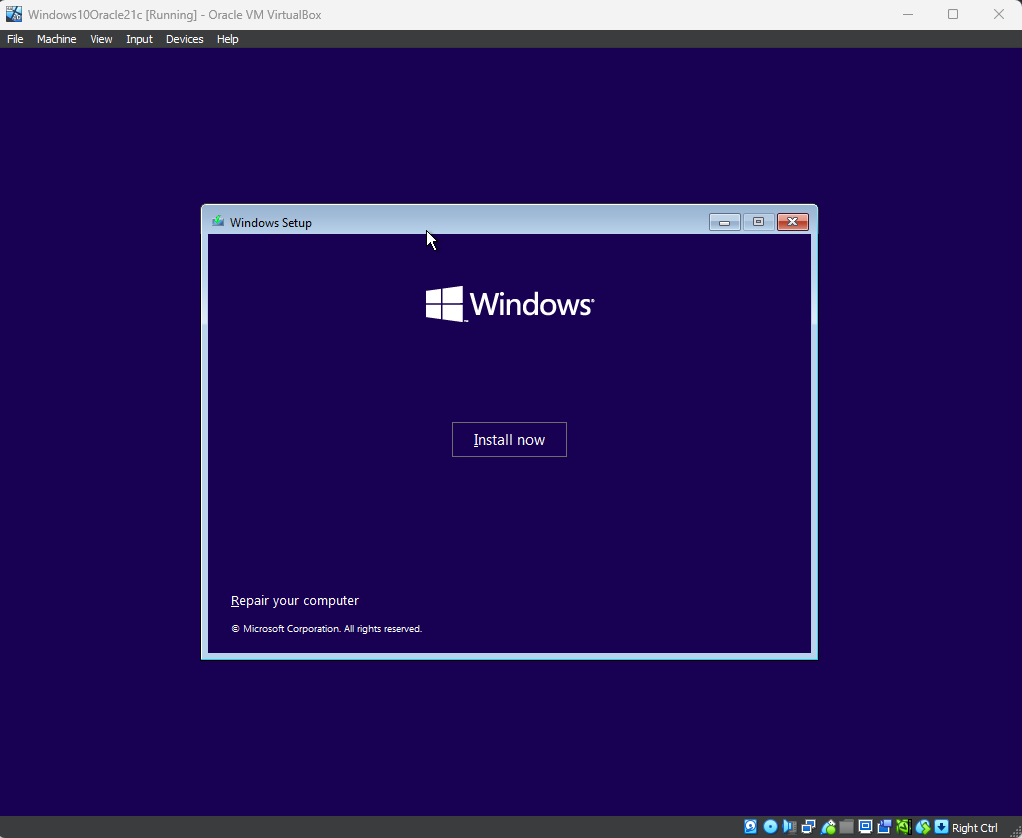
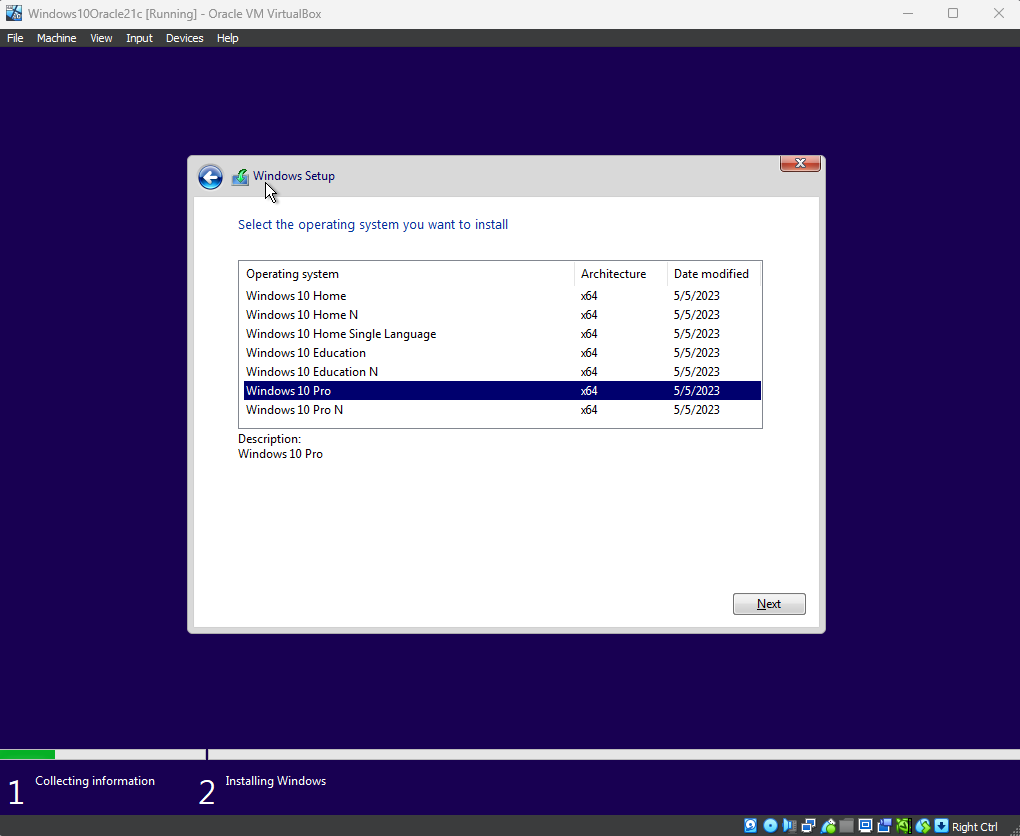
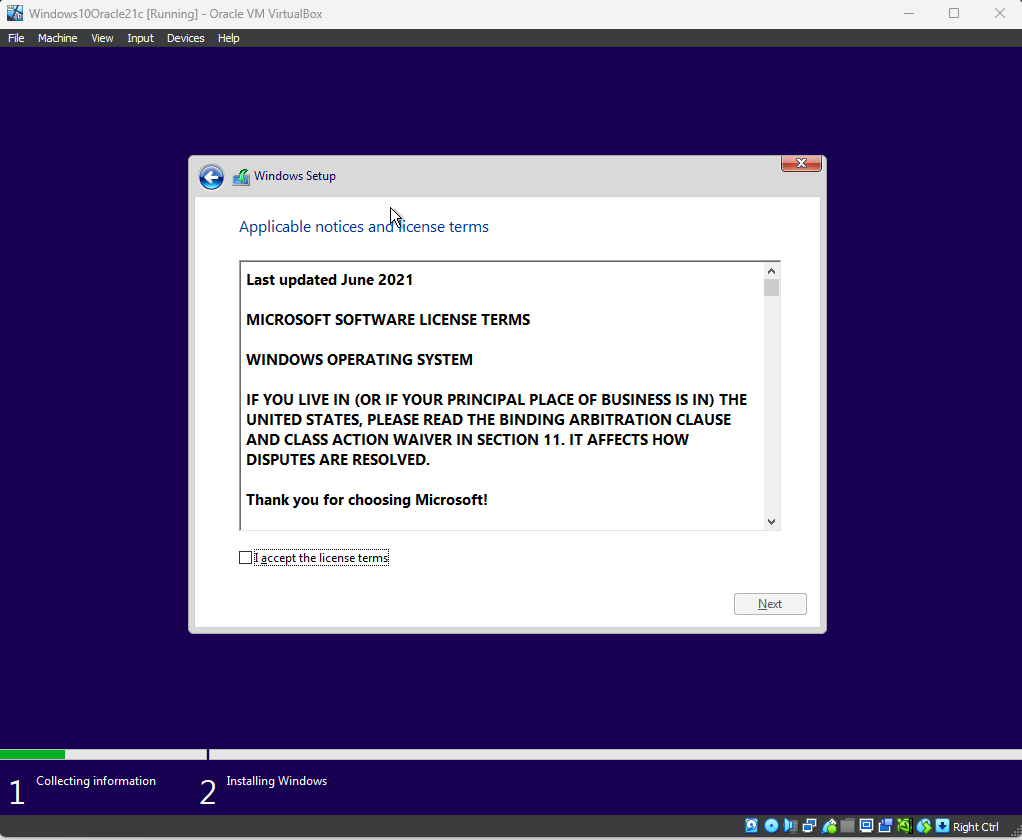
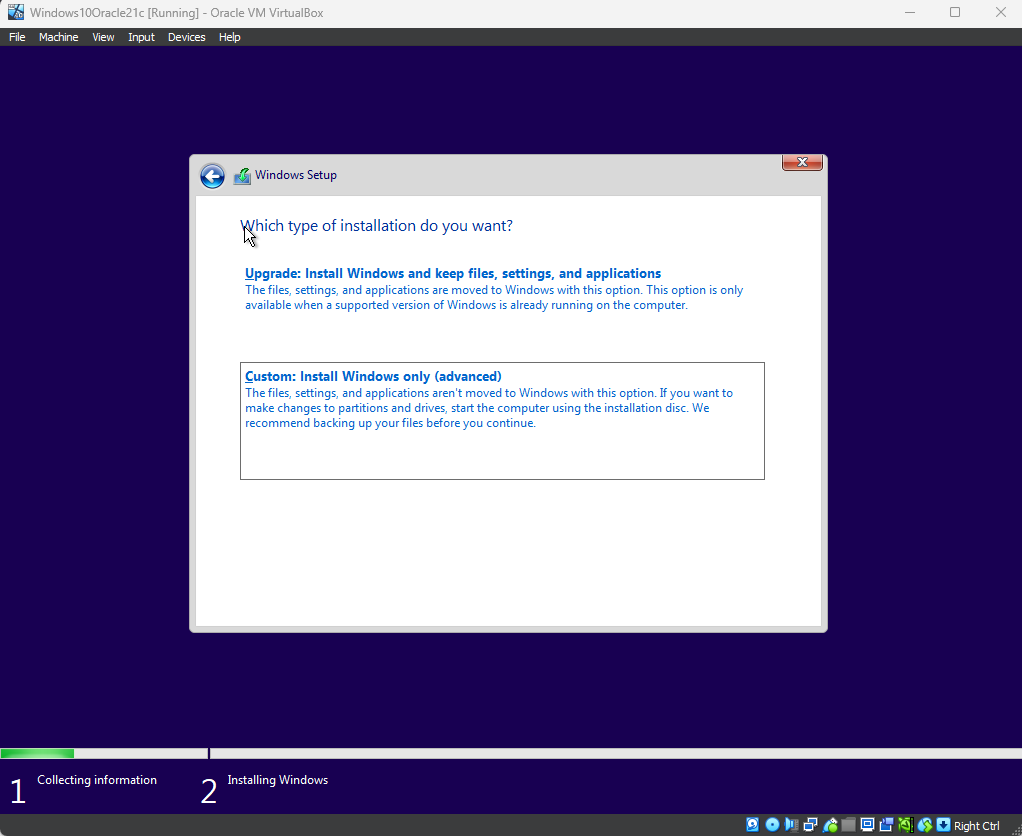
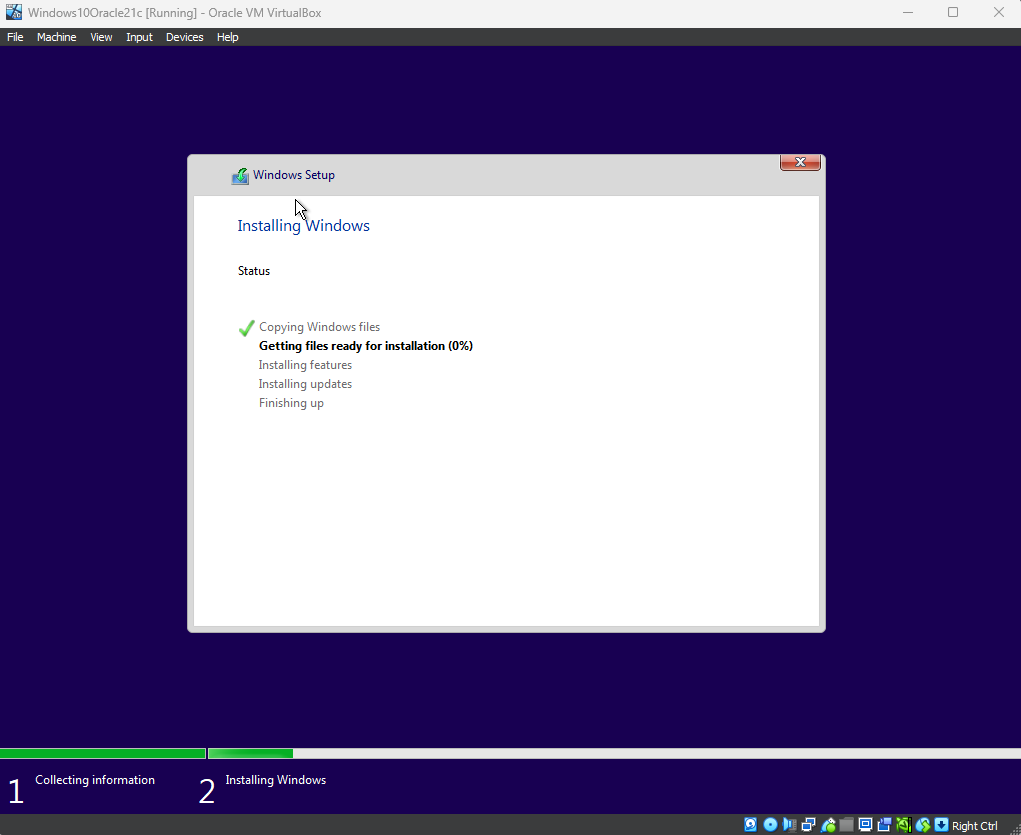
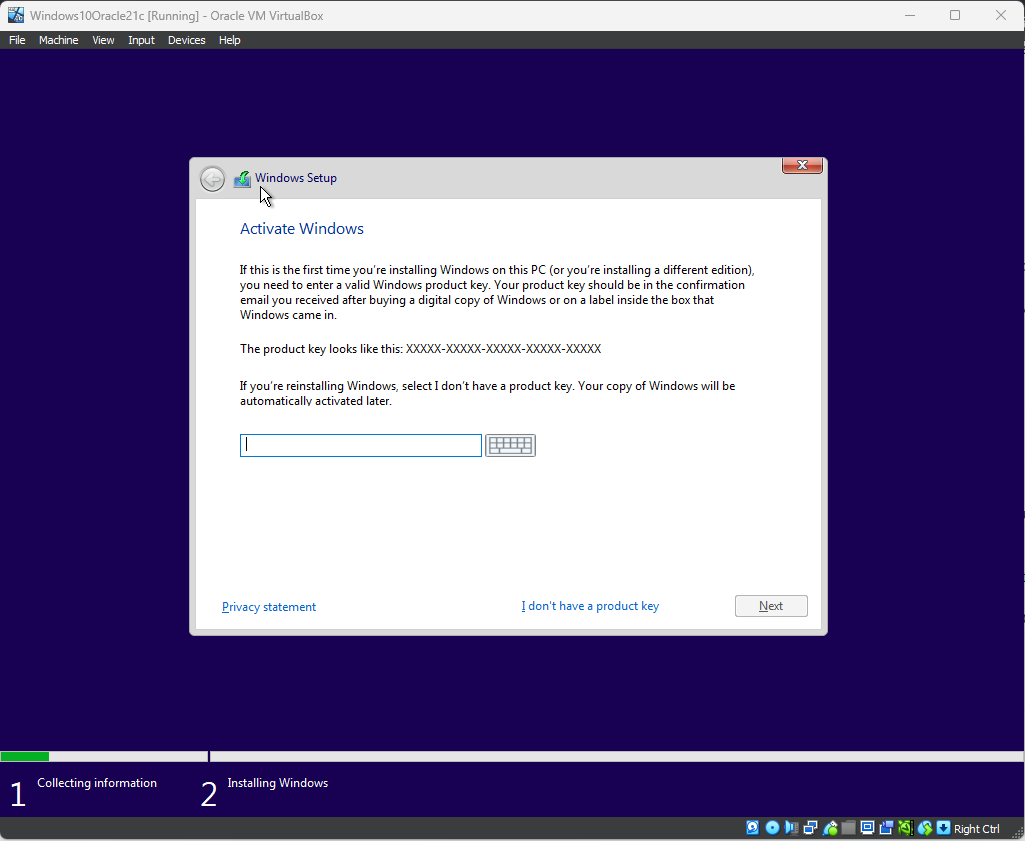
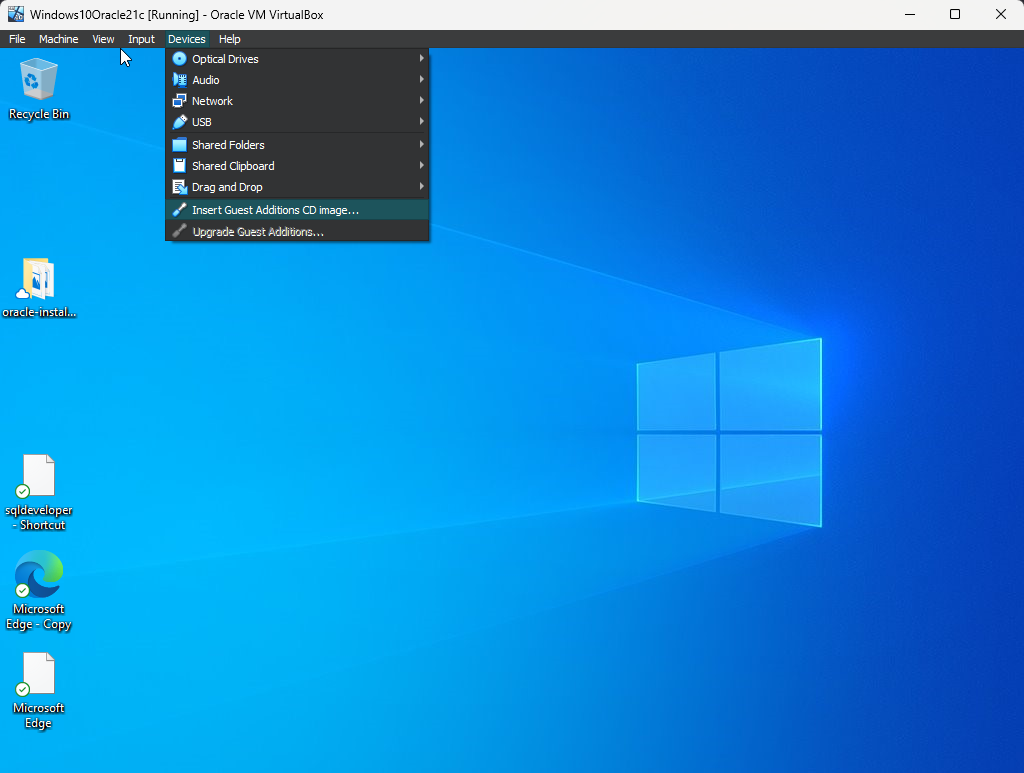
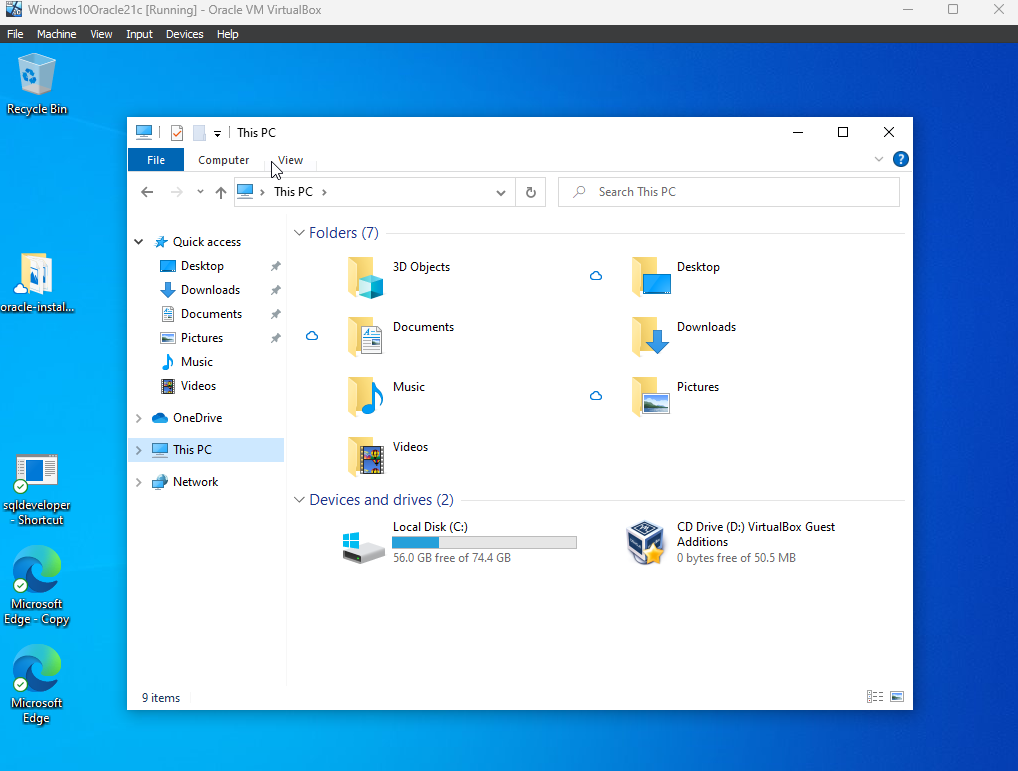
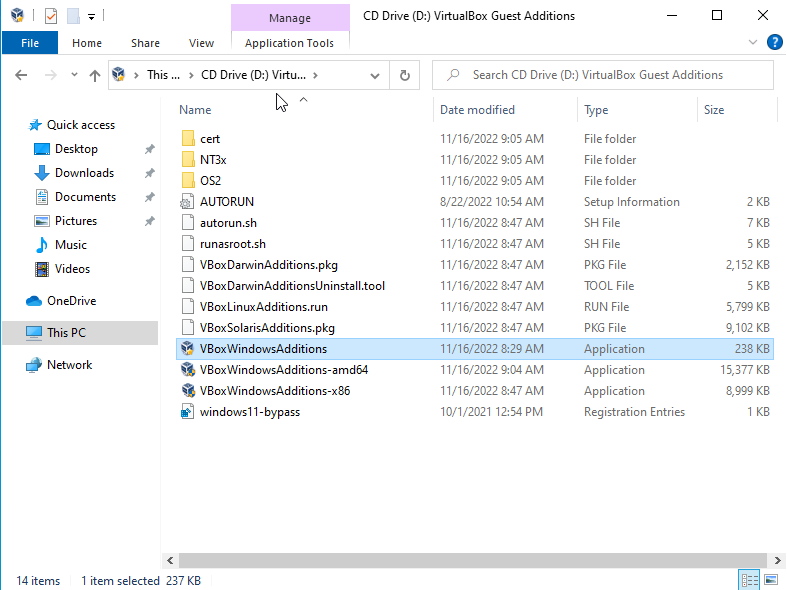
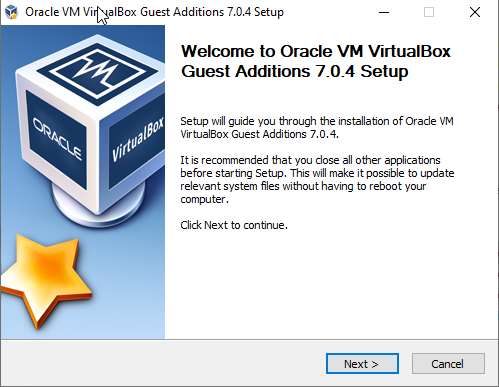
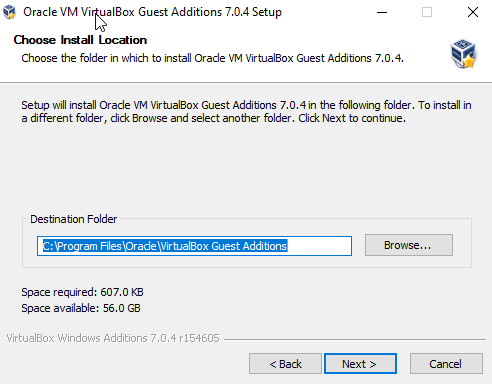
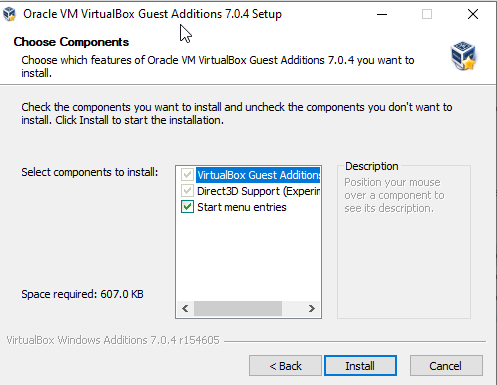
Install Windows 10 along with guest additions
- Follow these steps to install Windows 10 along with guest additions. These snapshots are self-explanatory
- If you don’t have a product key, please click on “I don’t have a product key”
- Finish the final setup
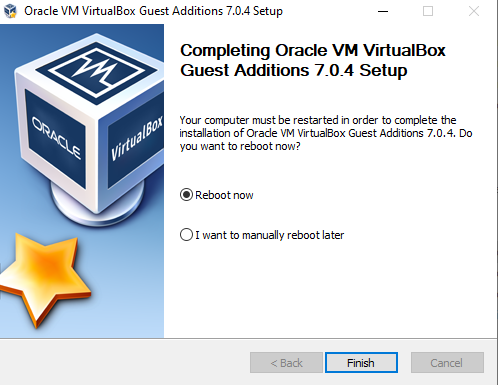
- Install guest additions as follows
Power-off and restart the VirtualBox Windows 10 image at this time.

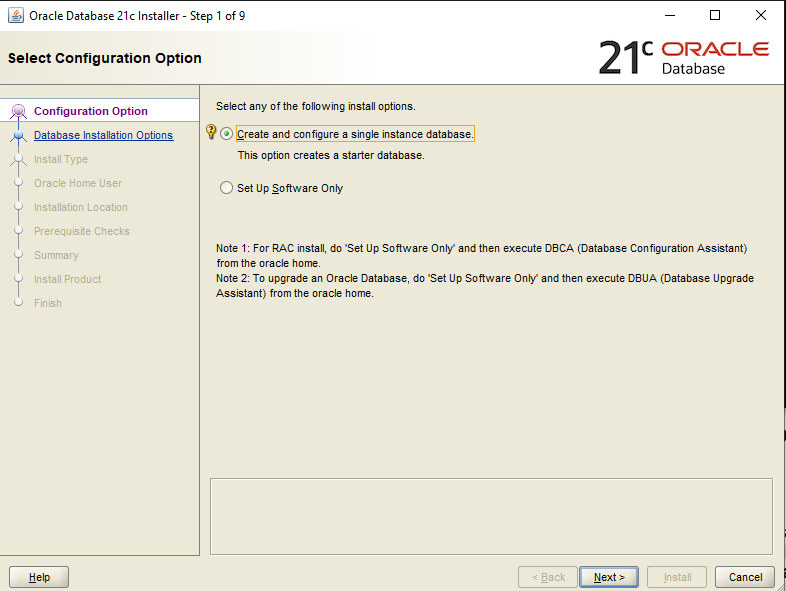
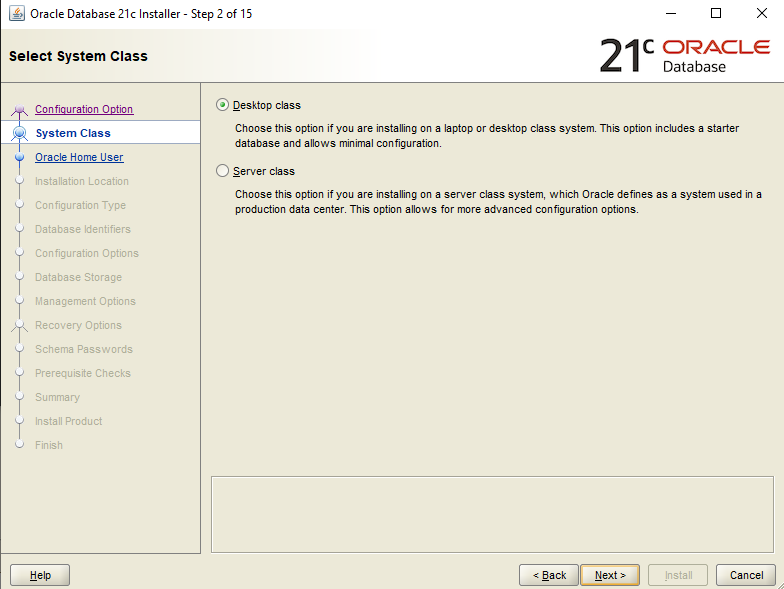
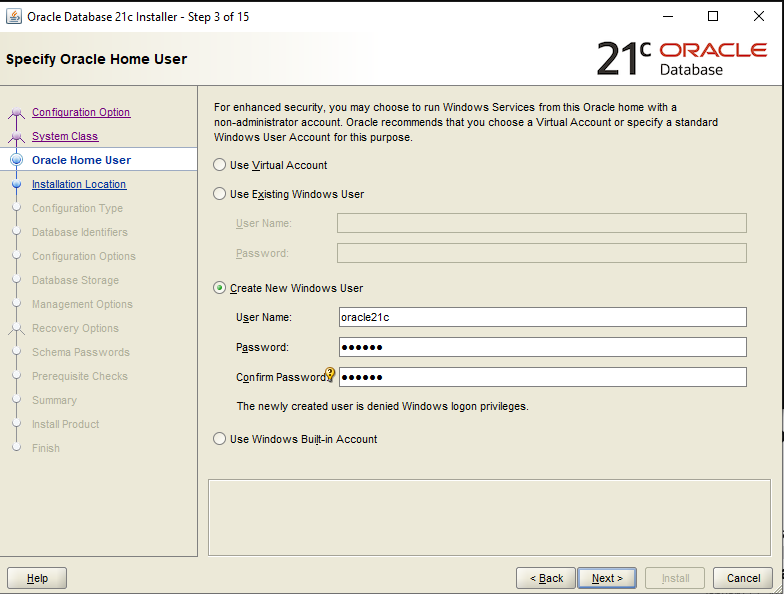
Install Oracle 21c
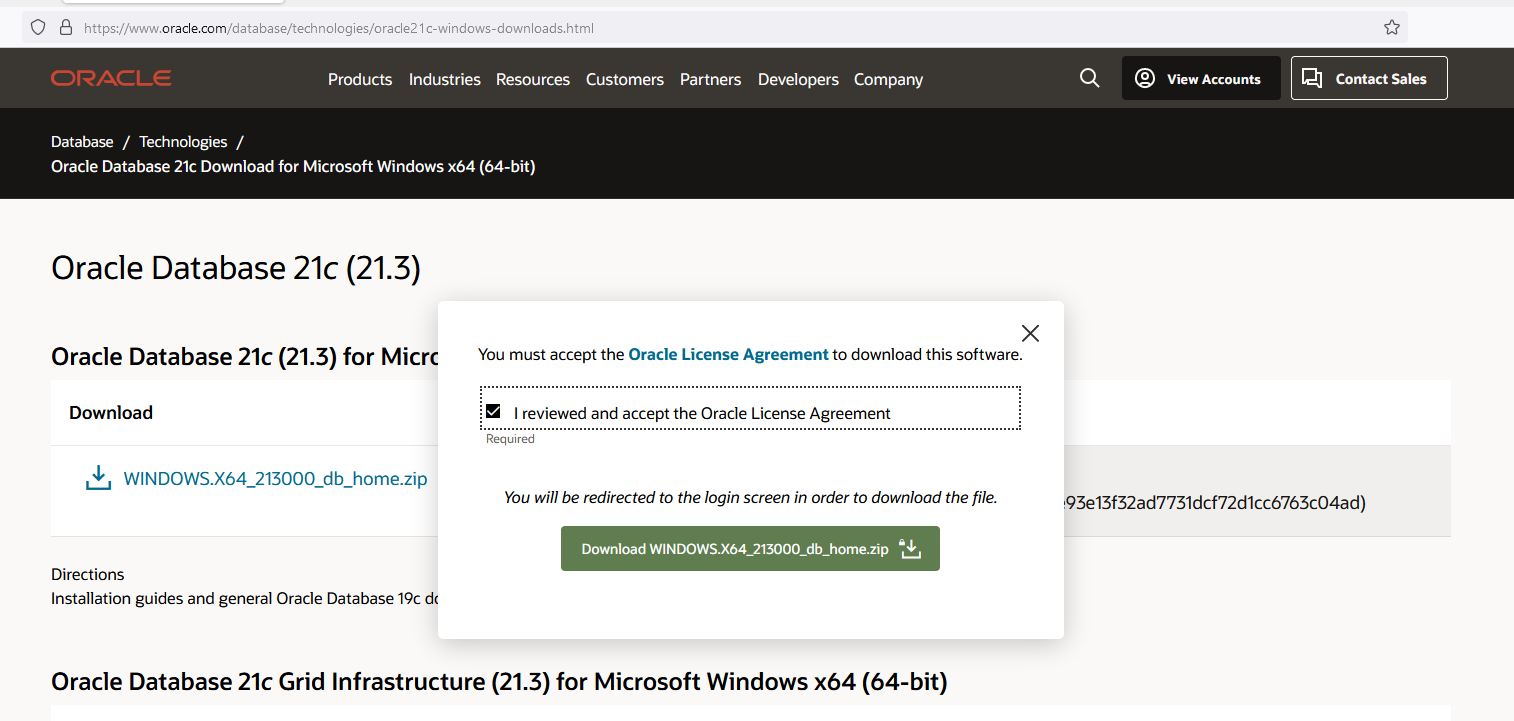
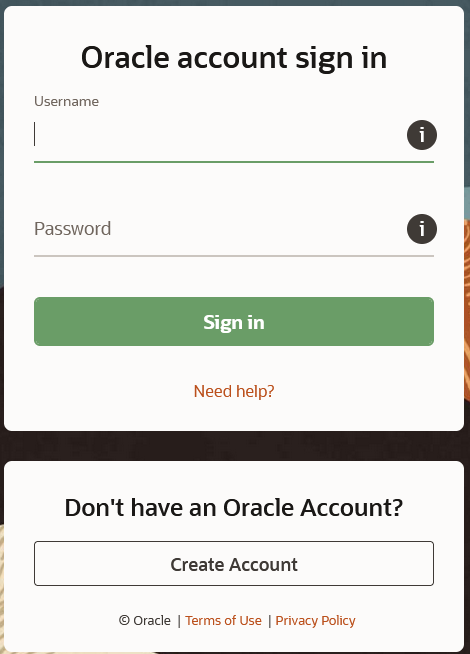
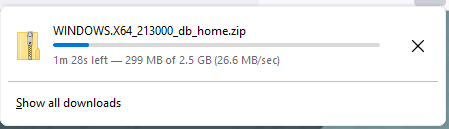
Download Oracle21c from https://www.oracle.com/database/technologies/oracle21c-windows-downloads.html
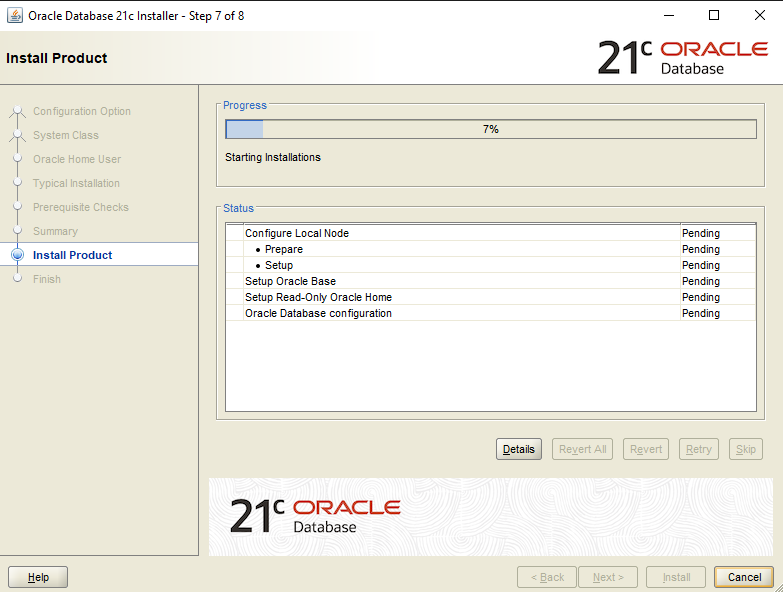
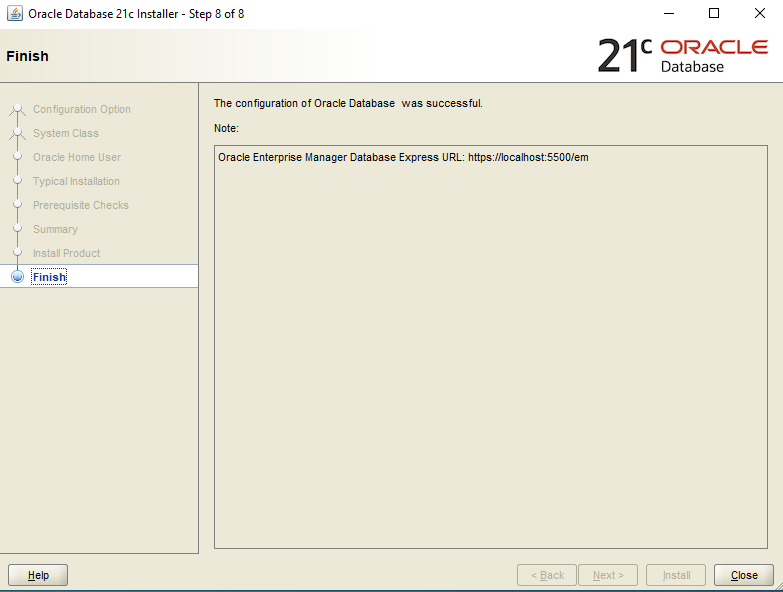
- Create an account and download the zip file. Following snapshots will walk you through the installation process.
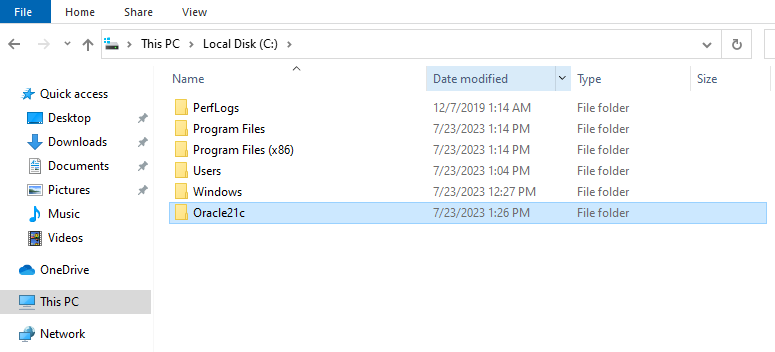
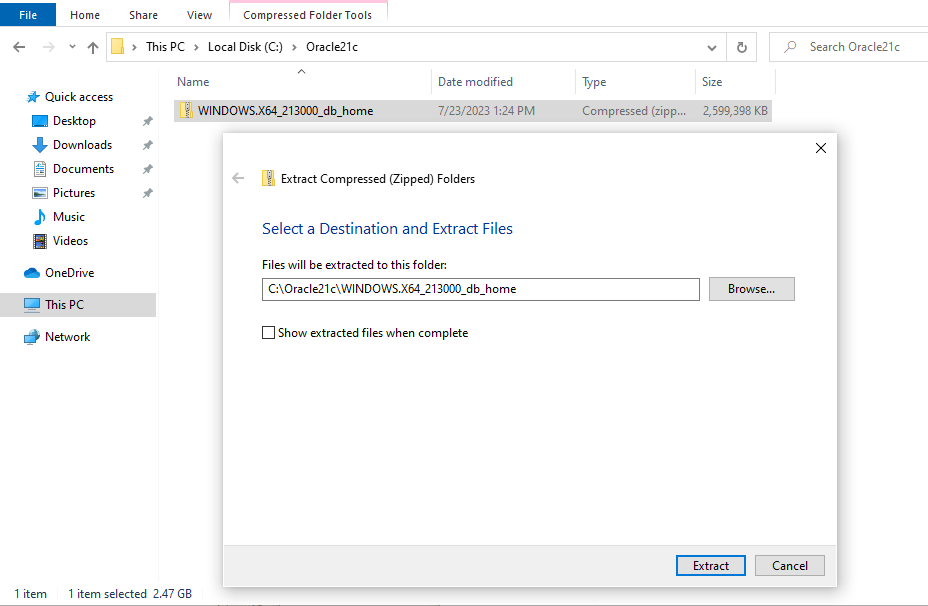
- Create a folder Oracle21c in *C:* as follows
- Extract downloaded oracle zip file in “Oracle21c”
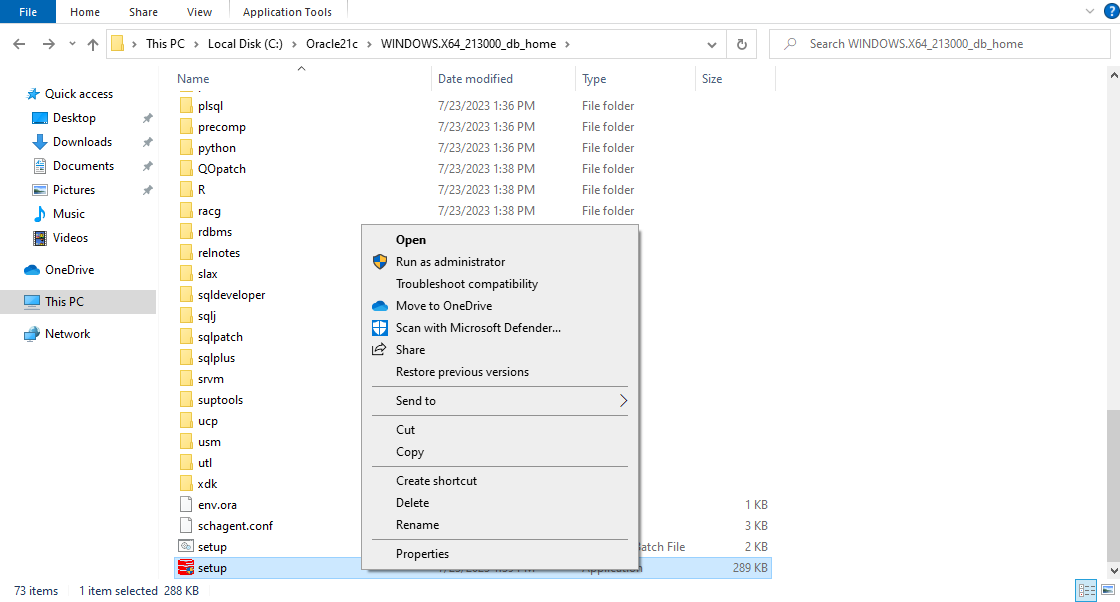
- Run the setup as “administrator”
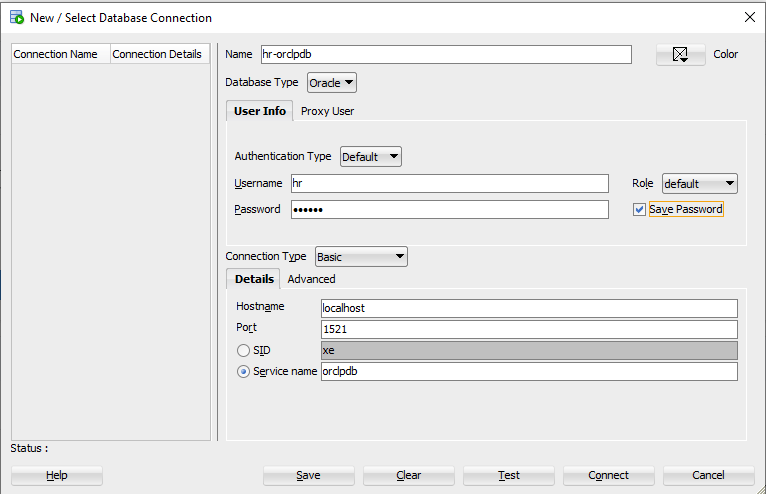
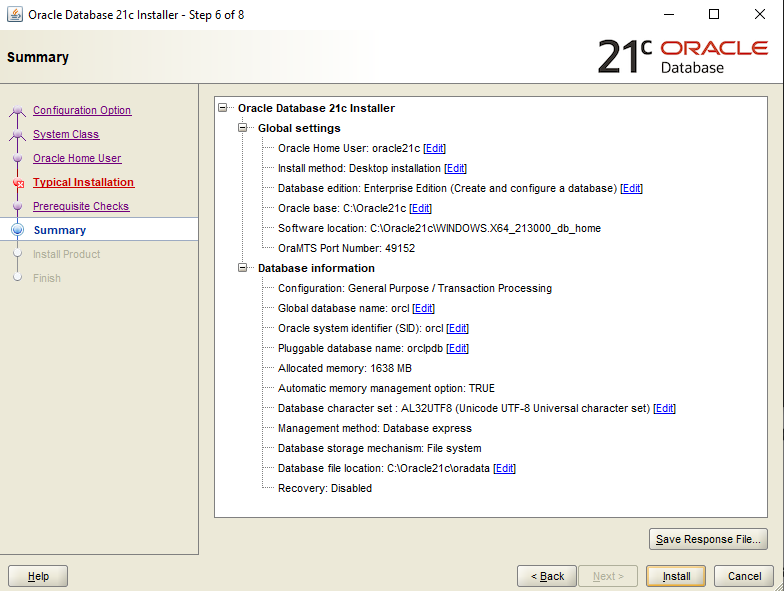
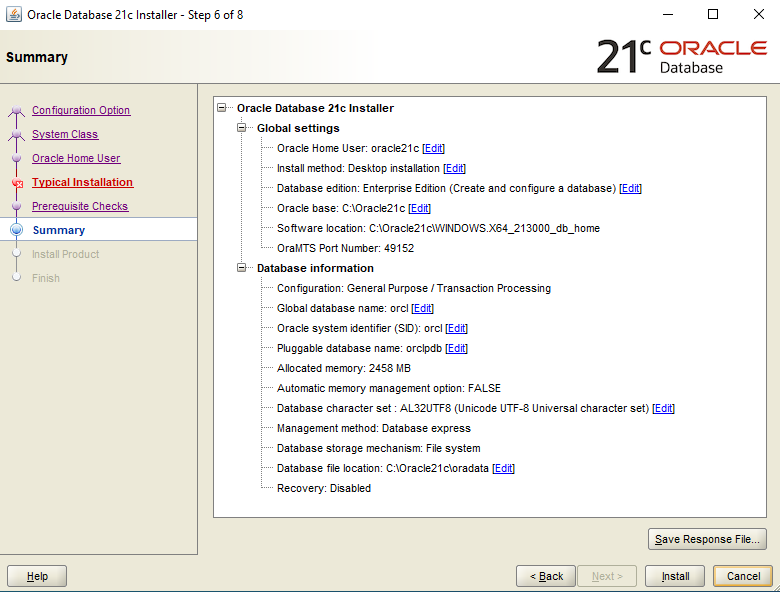
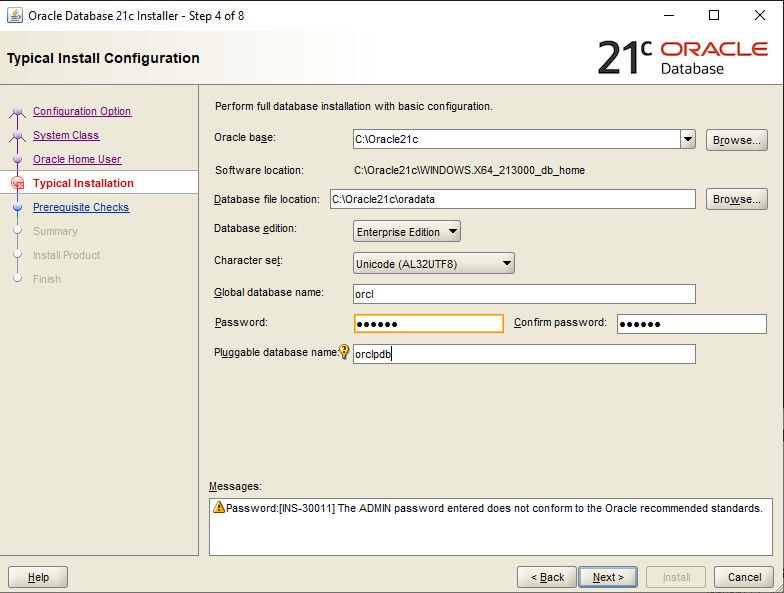
- Password you setup here will be used for default Oracle users like “system”. Make note of the “Pluggable database name” in this step, which will be useful while making a connection in SQL developer.
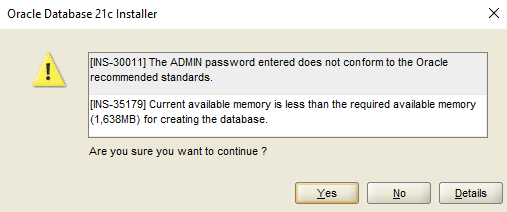
- You will encounter the following message, if you use a weak password
Install SQL developer
To install SQL developer, we simply need to download the installer and extract. We can create a shortcut on the desktop to launch it whenever we need.
- Download the file from https://www.oracle.com/database/sqldeveloper/technologies/download/
I downloaded “Windows 64-bit with JDK 11 included”.
Extract and move to appropriate location and create shortcut.
Unlock HR schema
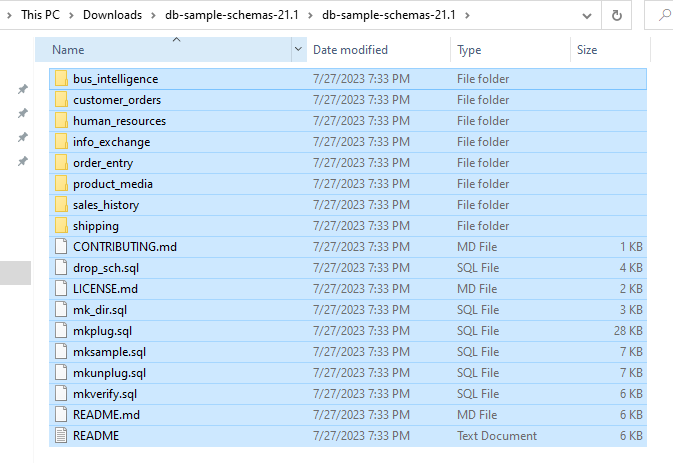
Download the zip file from https://github.com/oracle-samples/db-sample-schemas/releases/tag/v21.1
- Please follow these steps
- Extract the contents of above downloaded file
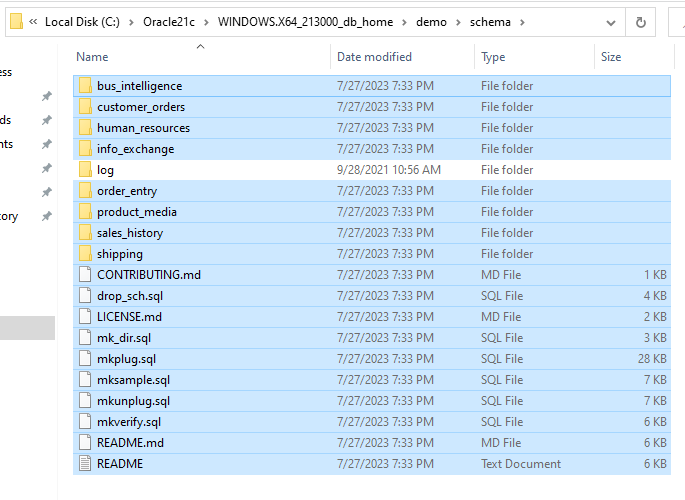
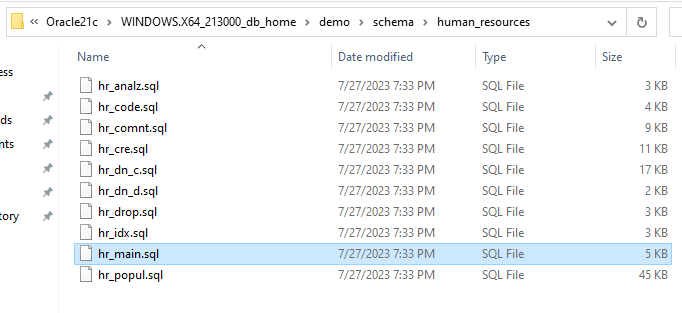
- Move extracted files to “C:Oracle21cWINDOWS.X64_213000_db_homedemoschema” (<- this is my path, your’s may be different)
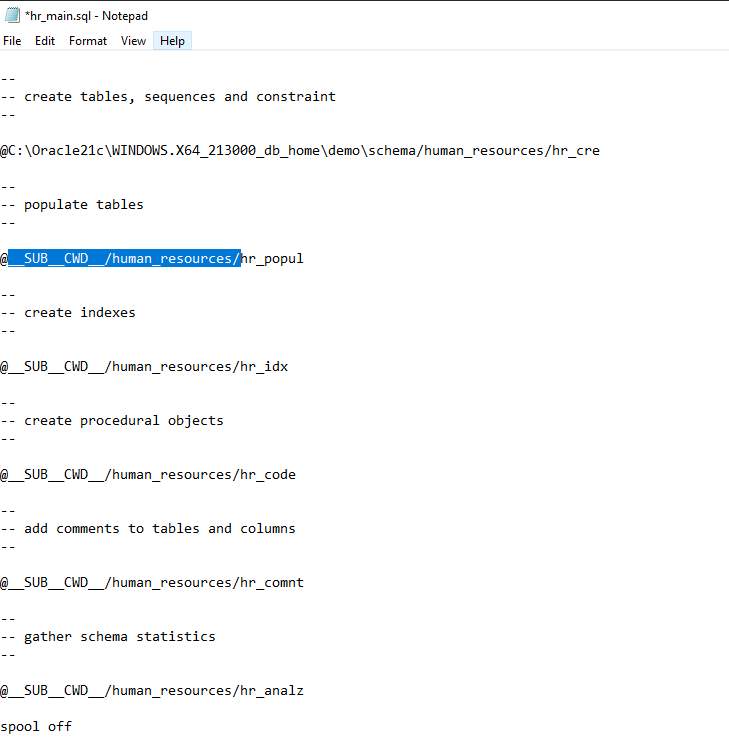
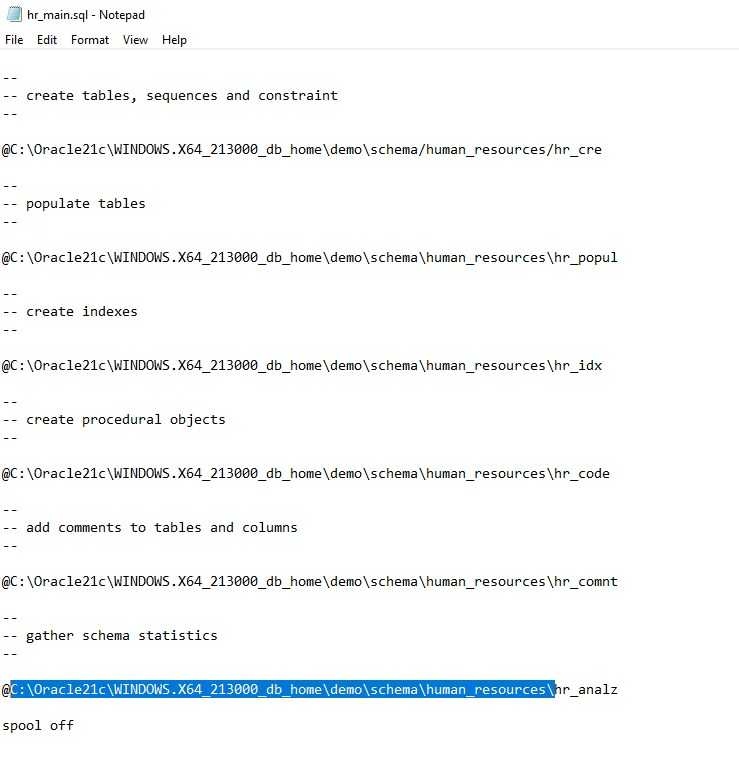
- Edit “hr_main.sql” in “human_resources” folder
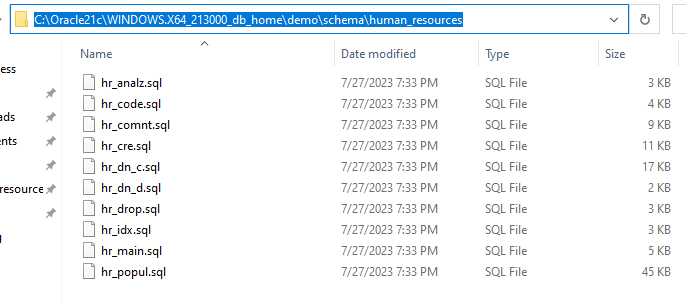
- Make note of the path to the “human_resources” folder
- Replace “__SUB__CWD__/human_resources/” with the full path copied from previous step. (Make sure to add * at the end of *human_resources during replacing the path)
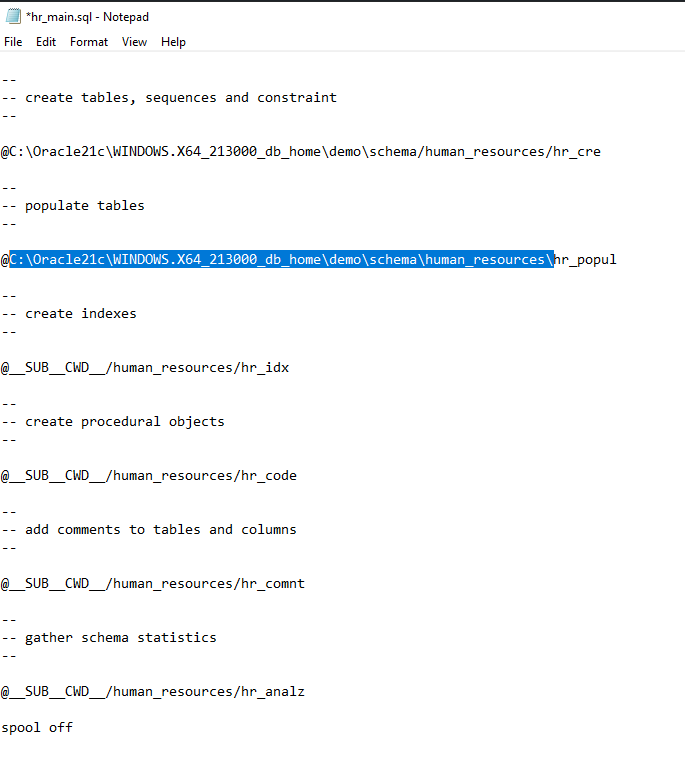
- Example of edited “hr_main.sql” file
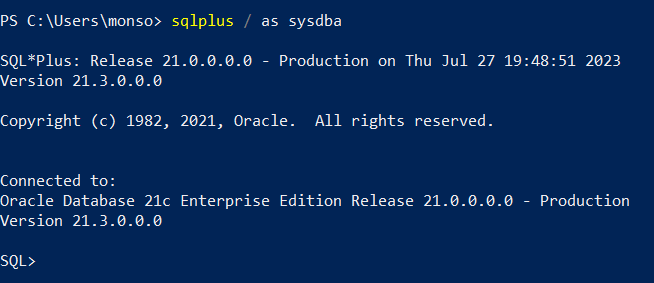
- Launch “sqlplus” using “Windows powershell”
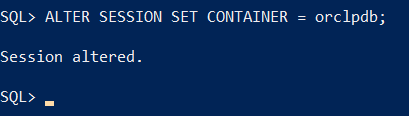
- Switch to “orclpdb” container. (Note that this should be same as the pluggable database (PDB) name used during the Oracle installation process)
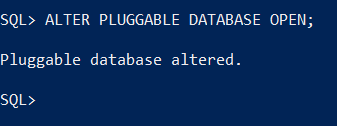
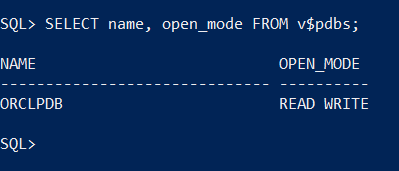
- Check if the PDB is “open”” or in “mounted” state
- If in “mounted” state, we need to “open” it using the following command
- PDB when its open should have “READ WRITE” as its “OPEN_MODE”
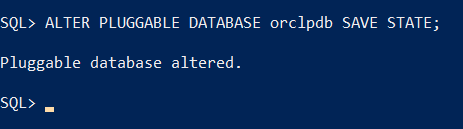
- Save the state, so that it will always be in this state when we restart the session
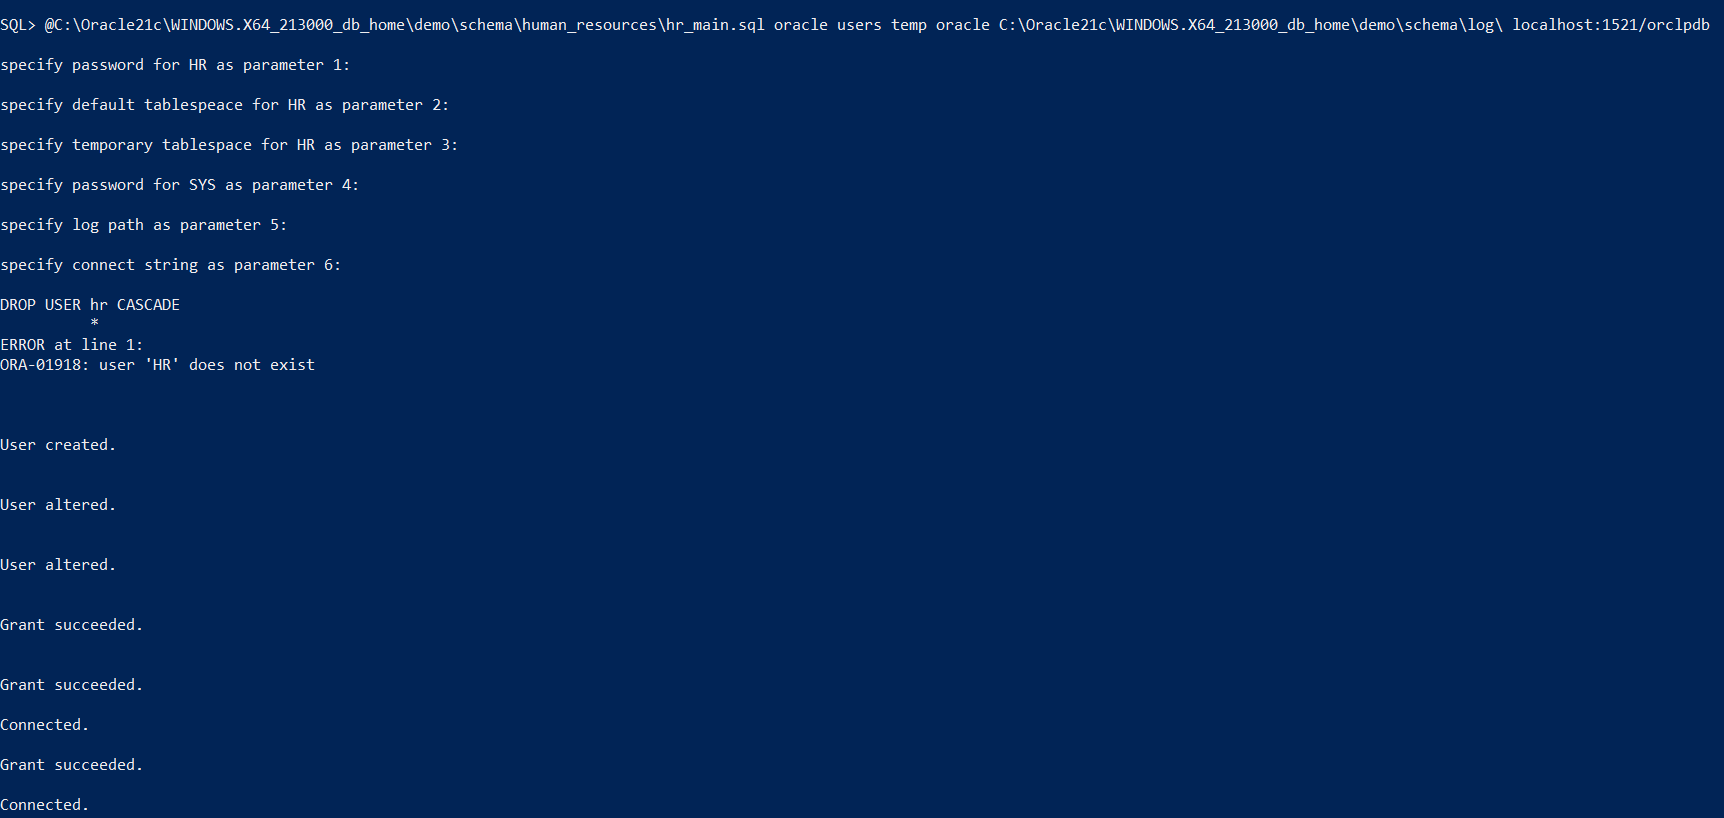
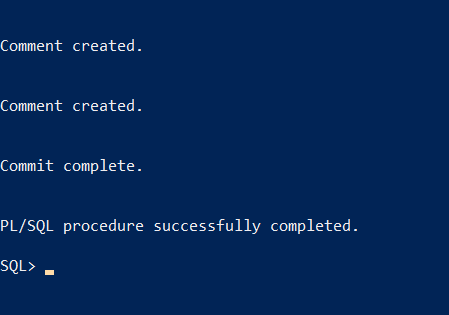
- Run the following command to execute “hr_main.sql”
@C:Oracle21cWINDOWS.X64_213000_db_homedemoschemahuman_resoureshr_main.sql <password-of-hr-schema> users<default-table-space> temp<temporary-table-space> oracle<password-of-sysuser> C:Oracle1cWINDOWS.X64_213000_db_homedemoschemalog<pathtologs> localhost:1521/orclpdb<connect-string>
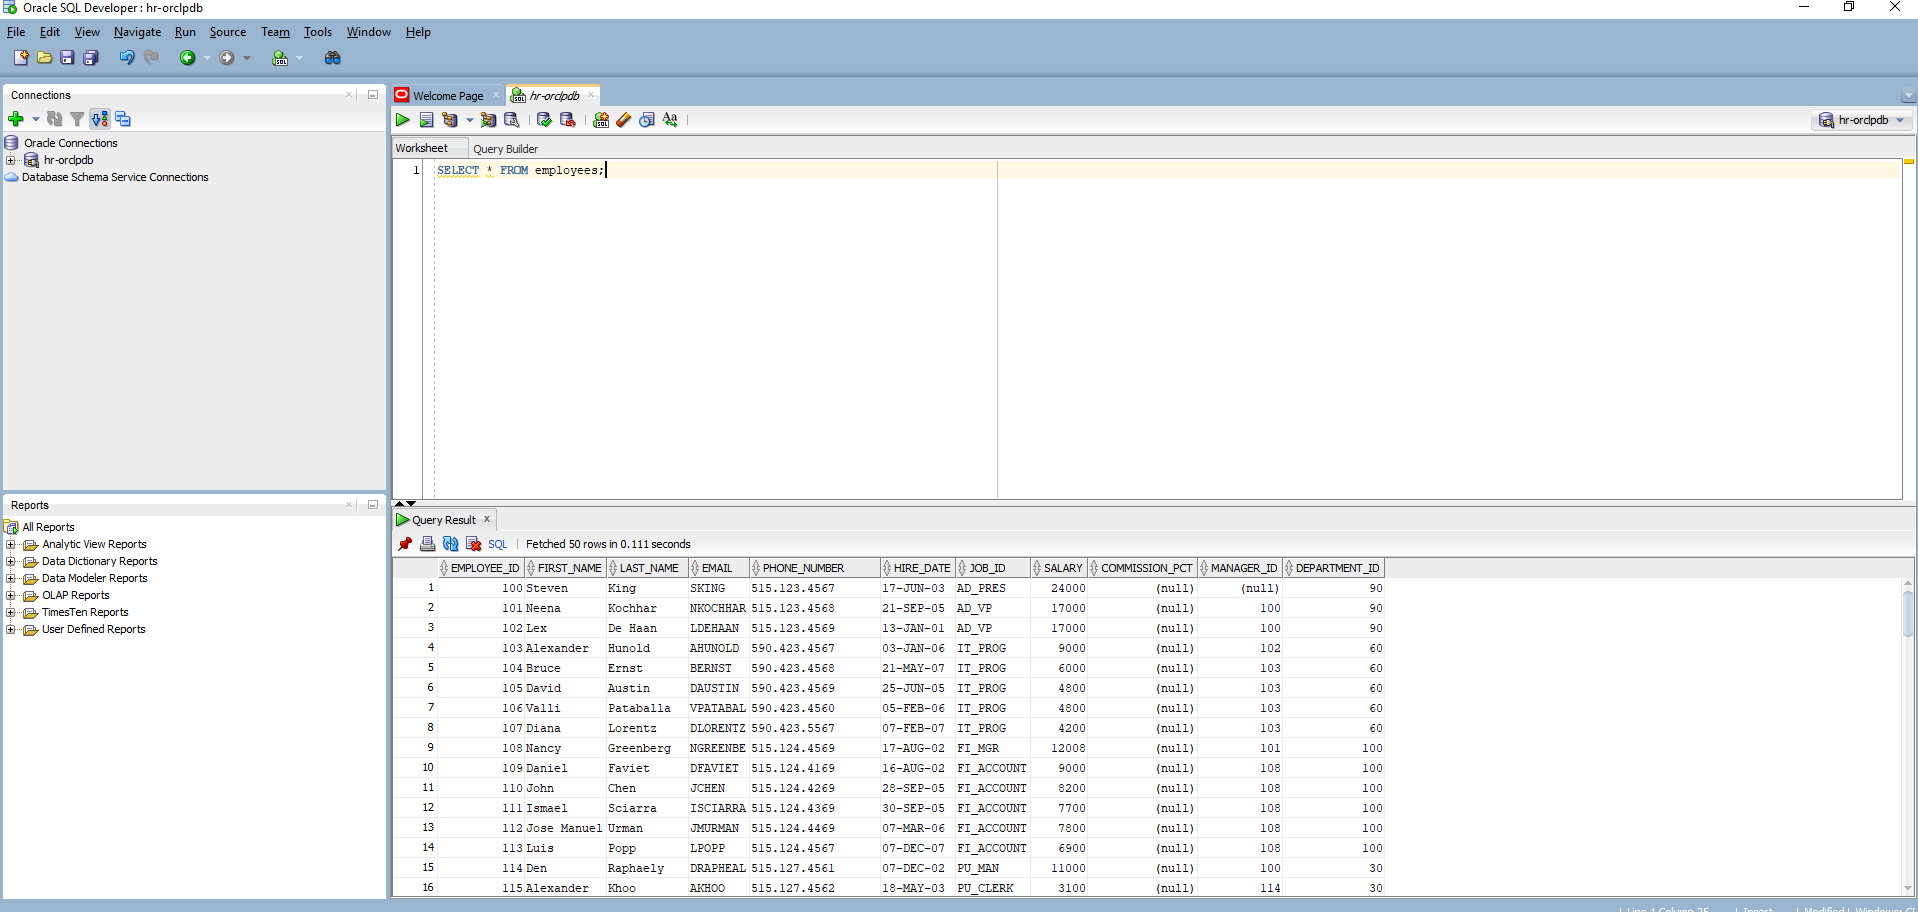
- Connect to hr database in SQL developer